How to Measure Countertops for an Initial Estimate
Learn how to measure countertops for an initial estimate, label a sketch and photograph key details. Final fabrication still needs professional measurement.

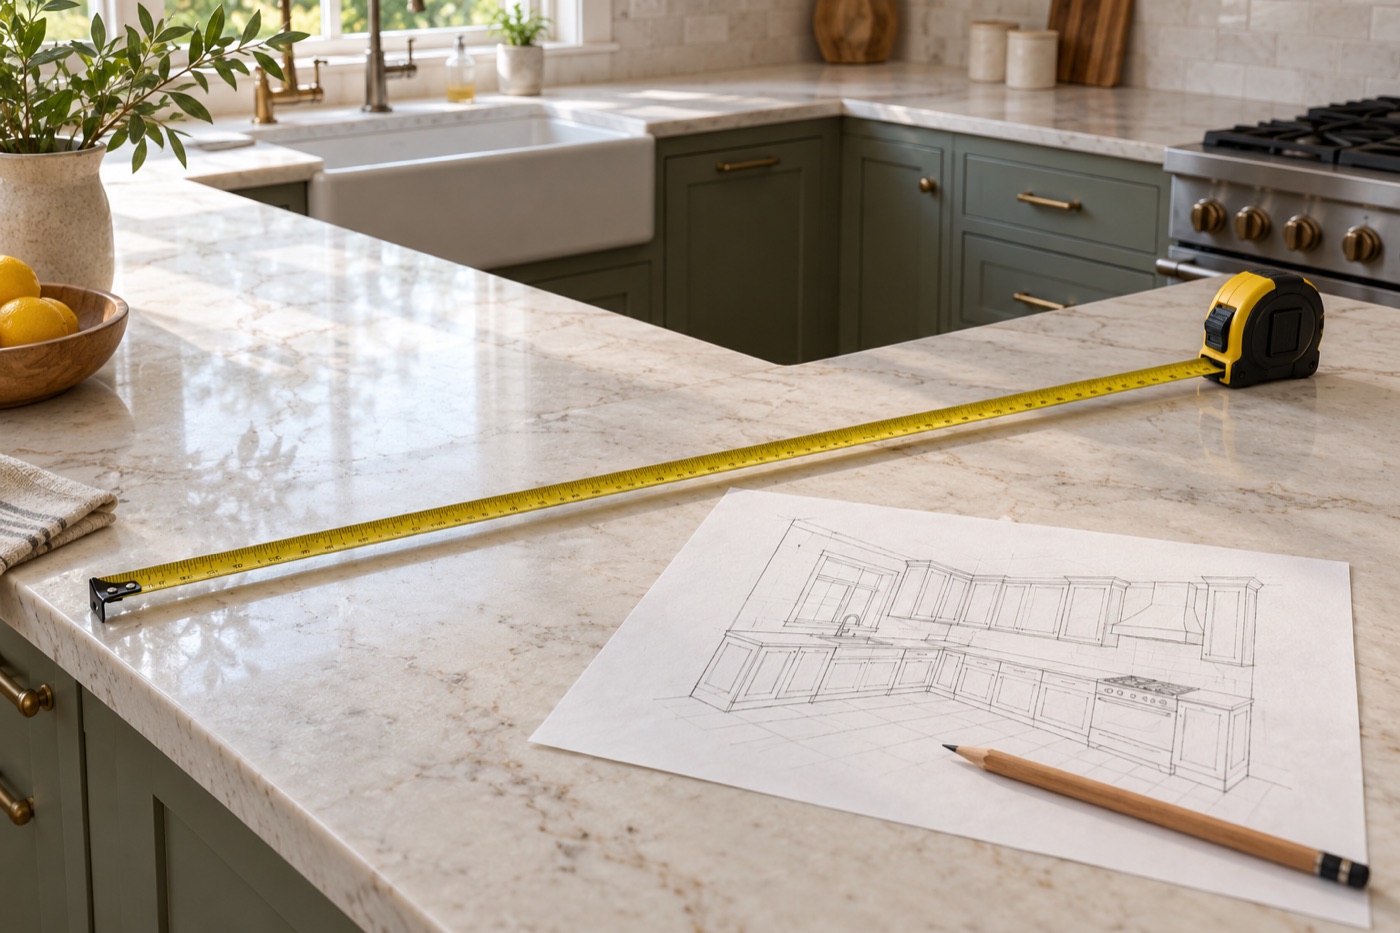
You can measure countertops to prepare an initial estimate without creating a fabrication drawing. A homeowner sketch communicates the approximate size and shape of the project so an estimator can start a conversation. It must not be used to order cut stone.
Before you measure countertops, draw the layout
Sketch each counter run as a simple shape and label it A, B, C and so on. Include the island, peninsula and any separate vanity or desk surface that belongs in the quote. Mark walls and exposed ends so the reader can tell which edges will be visible.
You do not need architectural software. A legible drawing photographed straight-on is more useful than a polished diagram with missing dimensions. Use one measurement unit throughout and write it at the top of the page.
Record length and depth for each section
Measure along the existing surface where it is accessible and record both length and depth. Show any unusual angles, curved ends or changes in depth. Do not stand on countertops or move heavy appliances to obtain a measurement; photograph inaccessible areas and identify them as unverified.
For an L-shaped counter, divide the drawing into rectangles and make clear where they meet. Avoid counting the corner twice. If you calculate an approximate area, remember that square inches are divided by 144 to obtain square feet. Area alone does not determine the final quote or slab requirement.
Mark openings without designing the cutouts
Show the approximate position of the sink, cooktop and faucet. Add model numbers if those items are selected. Do not guess fabrication dimensions from the outside edge of an existing fixture. Cutouts and clearances must follow the selected product’s specifications and the fabricator’s approved plan.
Label planned seating overhangs, waterfall ends and backsplash sections separately. Photograph the supporting cabinets and note whether they will stay or be replaced. Support decisions cannot be resolved by surface measurements alone.
Attach photos and a short scope
- One wide image of the entire kitchen.
- One image of each labeled counter section.
- Close-ups of the sink, backsplash and cabinet ends.
- A note about removal and disposal expectations.
- Your material shortlist and whether appliances will change.
Write “approximate measurements for estimating only” on the drawing. That reminder is useful when the file passes between people during a renovation.
What happens after the initial estimate?
The responsible professional verifies dimensions and site conditions before fabrication. Final material, sink, edge and layout decisions may change the estimate. Ask when those decisions must be locked and what preparation is required for the final measuring visit.
Review the factors that affect countertop cost, choose a few countertop options, and send TR Granite your sketch and photos. A clearly labeled initial package helps the team identify the questions that still need an on-site answer.